When a driver won’t install
What this fixes: a new graphics driver that won’t install, problems that started after switching GPU brands, or crashes and glitches that a normal driver update didn’t clear. Who it’s for: Windows users with AMD, Nvidia or Intel graphics who have already tried a standard driver update.
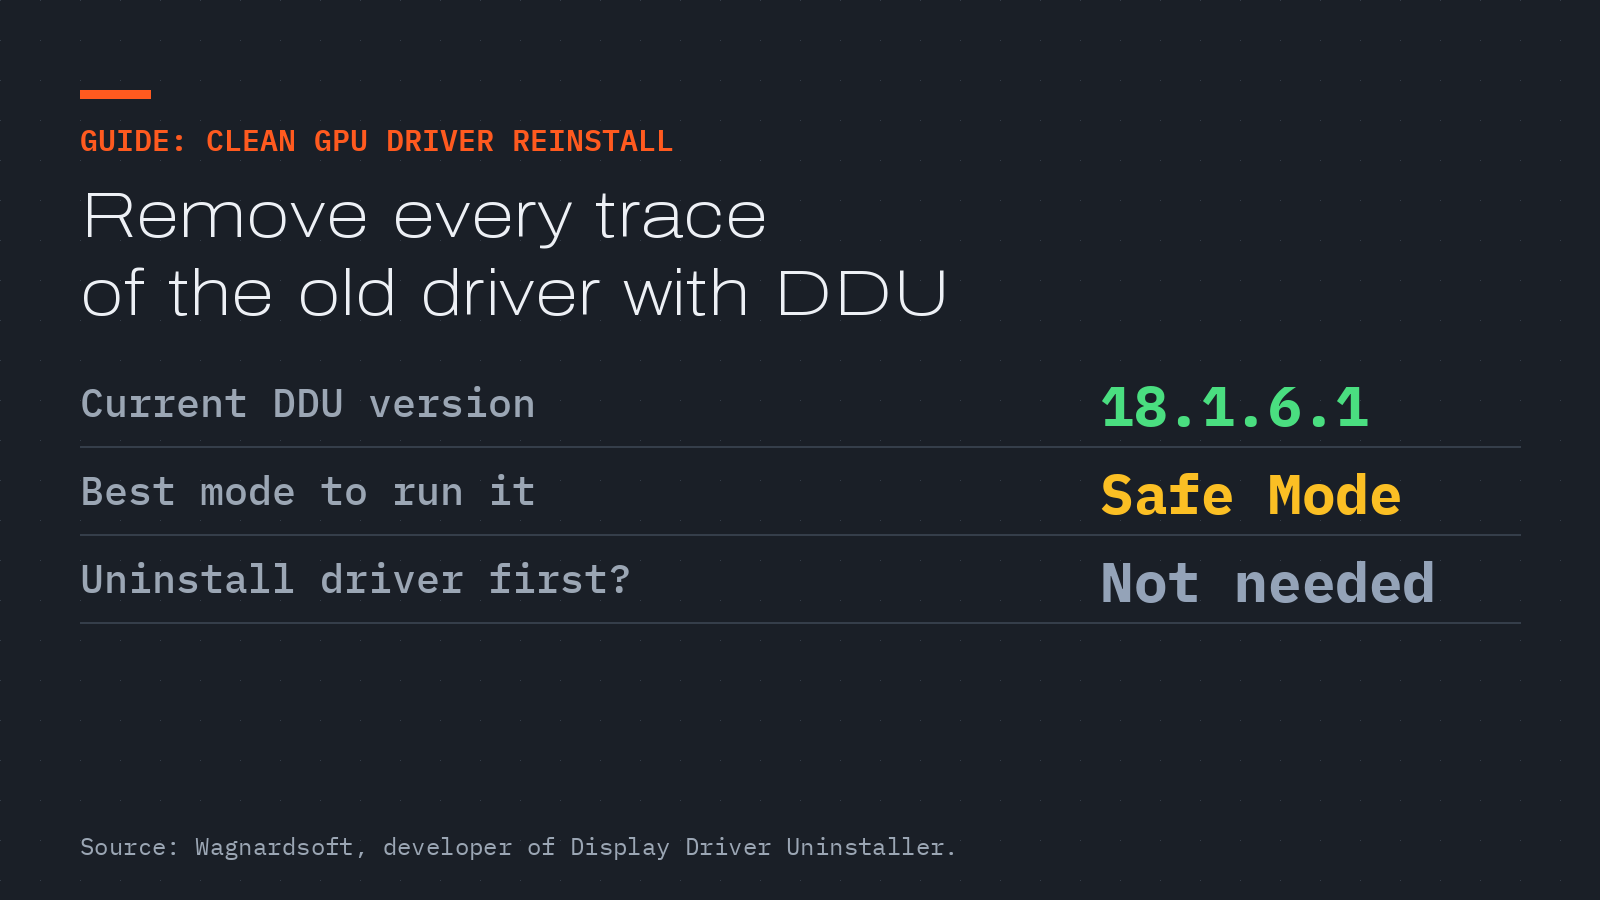
Verified against the Wagnardsoft download page for Display Driver Uninstaller (DDU) 18.1.6.1, the current release, and AMD’s support article GPU-601 for its own Cleanup Utility.
Wagnardsoft says normal uninstalls from Windows are usually fine, and that DDU is for when “the standard driver uninstall fails” or you need to remove every leftover: registry keys, folders, files and the driver store. It also says DDU has helped people who had trouble installing an older or newer driver.
Warning: DDU removes system drivers and registry entries. Wagnardsoft recommends making a backup or a System Restore point before you run it, even though “it should normally be pretty safe.” Download DDU only from Wagnardsoft’s own site, and download your new graphics driver before you start, because you may have no display driver until it’s installed.
Clean reinstall with DDU
- Download the driver you want to install from AMD, Nvidia or Intel, and save it locally.
- Download DDU from Wagnardsoft and extract it to its own folder. Wagnardsoft recommends excluding that folder from your security software.
- Create a System Restore point or a backup.
- Restart into Safe Mode using Microsoft’s instructions. DDU works in normal mode, but Wagnardsoft says “for absolute stability when using DDU, Safemode is always the best.”
- Run DDU, select your GPU vendor, clean the driver and restart. Wagnardsoft says you don’t need to uninstall the driver from Windows first.
- After the restart, install the driver you downloaded in step 1. Windows should switch to your GPU’s full resolution and refresh rate once it’s done.
Radeon users: AMD’s own tool
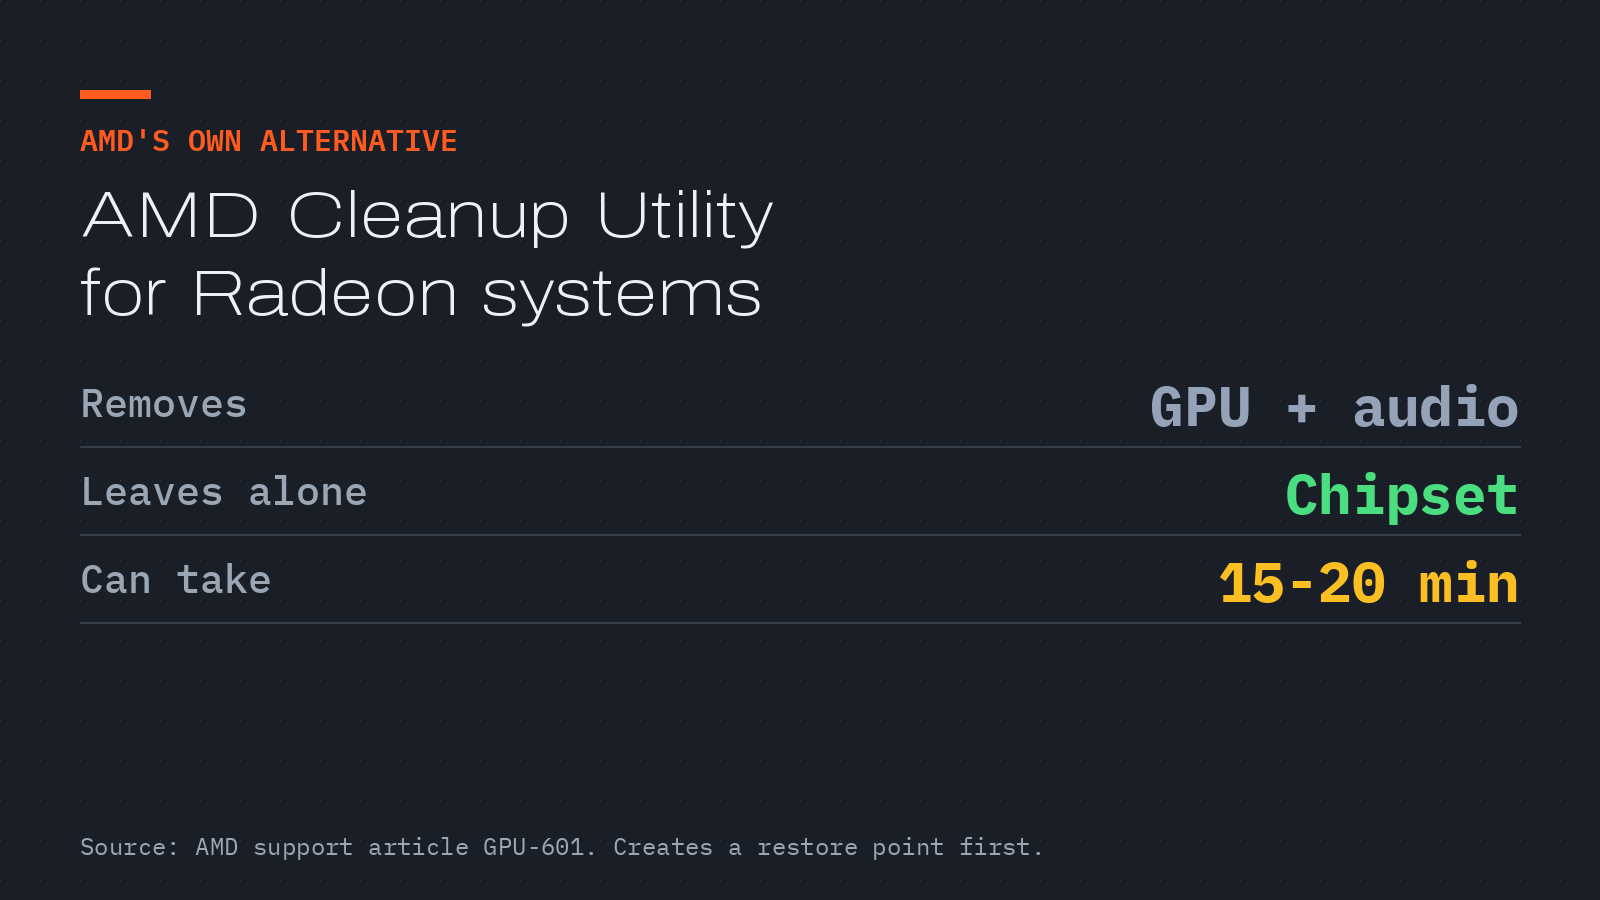
AMD’s Cleanup Utility removes AMD graphics and audio drivers and software, but not chipset drivers. AMD recommends letting it reboot into Safe Mode, warns that the screen may flicker or go blank during cleanup, and says it can take 15 to 20 minutes. It quits if Windows Update is running, and it creates a restore point named “AMD Cleanup Utility Restore Point” before it starts, in case you need to roll back.